I have never built a plane with any complexity from scratch. There I admitted it! All my planes have been RTF or ARF or even easier BNFs! My brother convinced me to check out FliteTest though and I decided to bite the bullet and build a flying wing which I wanted to do for some time.
I purchased the FliteTest Mighty Mini Arrow along with the Power Pack F. The pre-cut foam board kit seemed like it would be quicker to build but I also liked the fact that the foam board was water resistant which seems like it will be more durable than the foam board available locally. I also decided to spring for a better hot glue gun and slower drying hot glue after watching the build video and seeing how much glue they put down in some of the steps. My complete list of components and tools for this project are below.
Parts and Assembly
- FliteTest Mighty Mini Arrow Kit
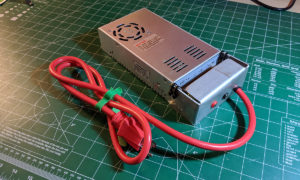
- FliteTest Power Pack F
- FliteTest 6×4.5 Orange Props
- FliteTest Stickers!
- Turnigy Nano-Tech 850 mAh batteries
- XT-30 connectors for on the batteries
- Spektrum AR400 Receiver
- Arrow TR550 Hot Glue Gun
- SlowSet Glue Sticks, 24pk
- Du-Pro 916 Electric Flyer Hinge Tape
I won’t do a detailed breakdown of the assembly process. FliteTest has a pretty good YouTube video that shows that. But I will add a few comments from what I learned along the way.
Building Tips
Probably the most important tip I can offer is to get a good hot glue gun that can put out a lot of glue fast and to buy slow set hot glue like the stuff I used. In their assembly video you can see there are times during assembly where you must apply large amounts of glue over large areas before eventually pressing some other components into the glue. My glue gun was a) too small and b) had glue that would harden far too fast. So I researched some options and picked the Arrow gun and slow set glue sticks. These turned out to work really well and I can’t imagine I would have had the good results I did during the build had I not made this purchase.
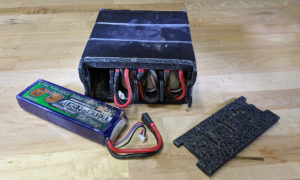
Regarding my batteries, I’ve had a lot of luck with Turnigy Nano-Tech batteries in the past. My Savage Flux HP monster truck runs on 2 much higher capacity Turnigy Nano-Tech’s and I’ve found them to be great quality and a price that can’t be beat for what you get. Unfortunately HobbyKing didn’t offer the battery size/capacity I needed to match the XT-30 connector on the FliteTest ESC, so I bought those connectors separately and soldered them on myself. These batteries are a tight fit but do fit!
My final tip is regarding the elevon angle setting. The kit comes with a small six sided shape to help you set the correct angle on the elevons during assembly. Unfortunately in the video they don’t really make it clear whether you’re supposed to use the angle labeled L or H! Well after setting the elevon angle to match the H side I can tell you that you need to make it set to the L side! If you set the neutral position on the elevons to the H angle you’ll find the aircraft always on the verge of a stall with the nose pointed sharply up throughout flight.
Final Thoughts
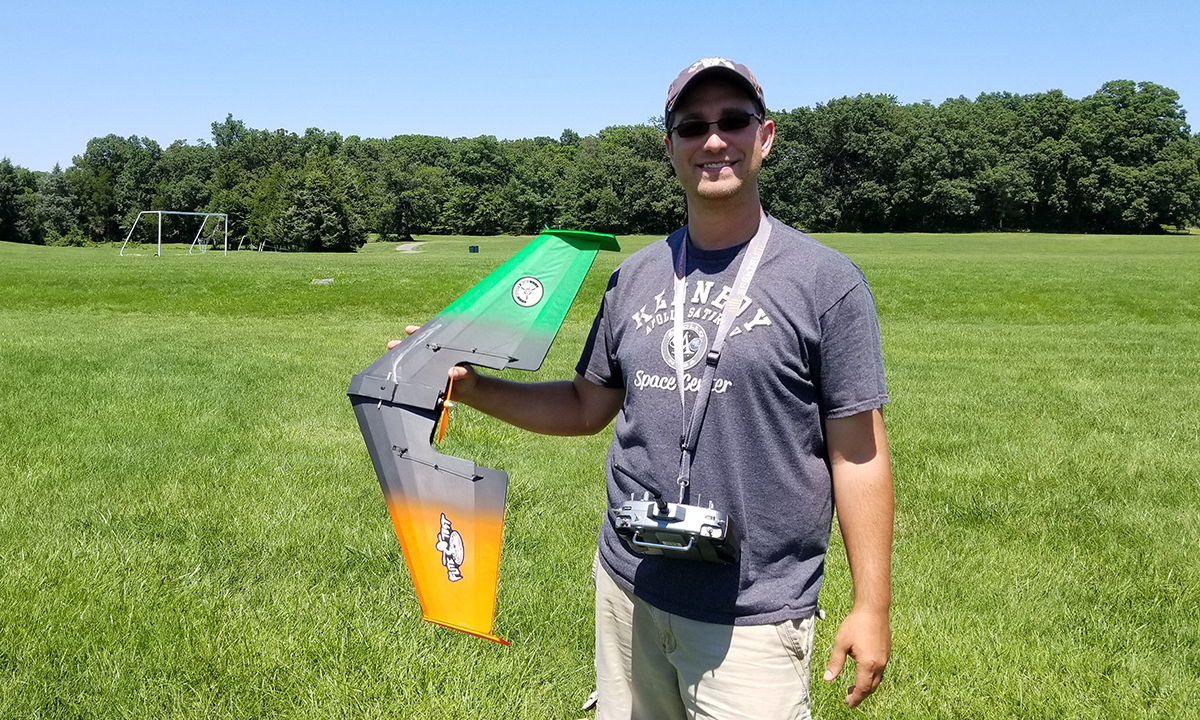
Because the plane went together so quickly, honestly it only took a couple hours over a few nights, I didn’t really take many pictures of the process. I did however get some pics of the sweet paint job! 😉 I tried to pick colors which would make the wingtips clearly visible no matter the orientation since this aircraft is missing several features that would commonly indicate which side is up and down.
The first few flights have been frustrating since I’ve been trying to figure out why it was flying funny with the nose up all the time. Other than that it seems to fly well. I’ve adjusted the neutral position of the control horns on the elevons to correct the angles. Hopefully I can get out to fly it soon on the next sunny weekend day.
Disclaimer: I participate in the Amazon Affiliate program. By purchasing items listed on Amazon using the links on this website you are supporting this website. I received no compensation for listing or using any of the products linked to on this page.