While I really like my 8ft Gladiator Workbench (with accessory integrated power strip) as I’ve started building more and doing more hand woodworking I’ve found it doesn’t do two things well. It doesn’t have the mass to resist hand woodworking (like planing and hand sawing) and rocks all over the place. Also it’s not big enough for bigger assemblies, especially now that I’ve mounted a bench vise and bench top drill press at the ends.
Recently I was visiting a friend’s workshop and he showed me a workbench he made out of a solid wood door that he got when he saw some were being thrown out back in college. He said it was great, it was cheap, and it was plenty hardy for general use (it’s seen regular use for about 30 years now…). So when our office decided to get rid of 5 solid wood doors I was quick to jump on 2 of them for a future bench project.
Recently I found myself coming home with a trailer load of large cutoffs of various wood types (from another friend with a huge hobby workshop!) and I decided to absorb this into my small shop I’d need to re-arrange. It seemed like the perfect opportunity to make a nice big assembly/woodworking workbench with a nice set of lumber racks on the wall above it. In an effort to keep my 2D drawing skills sharp but still utilize easily updated CAD I decided to design a bench around a 2-view 2D drawing.
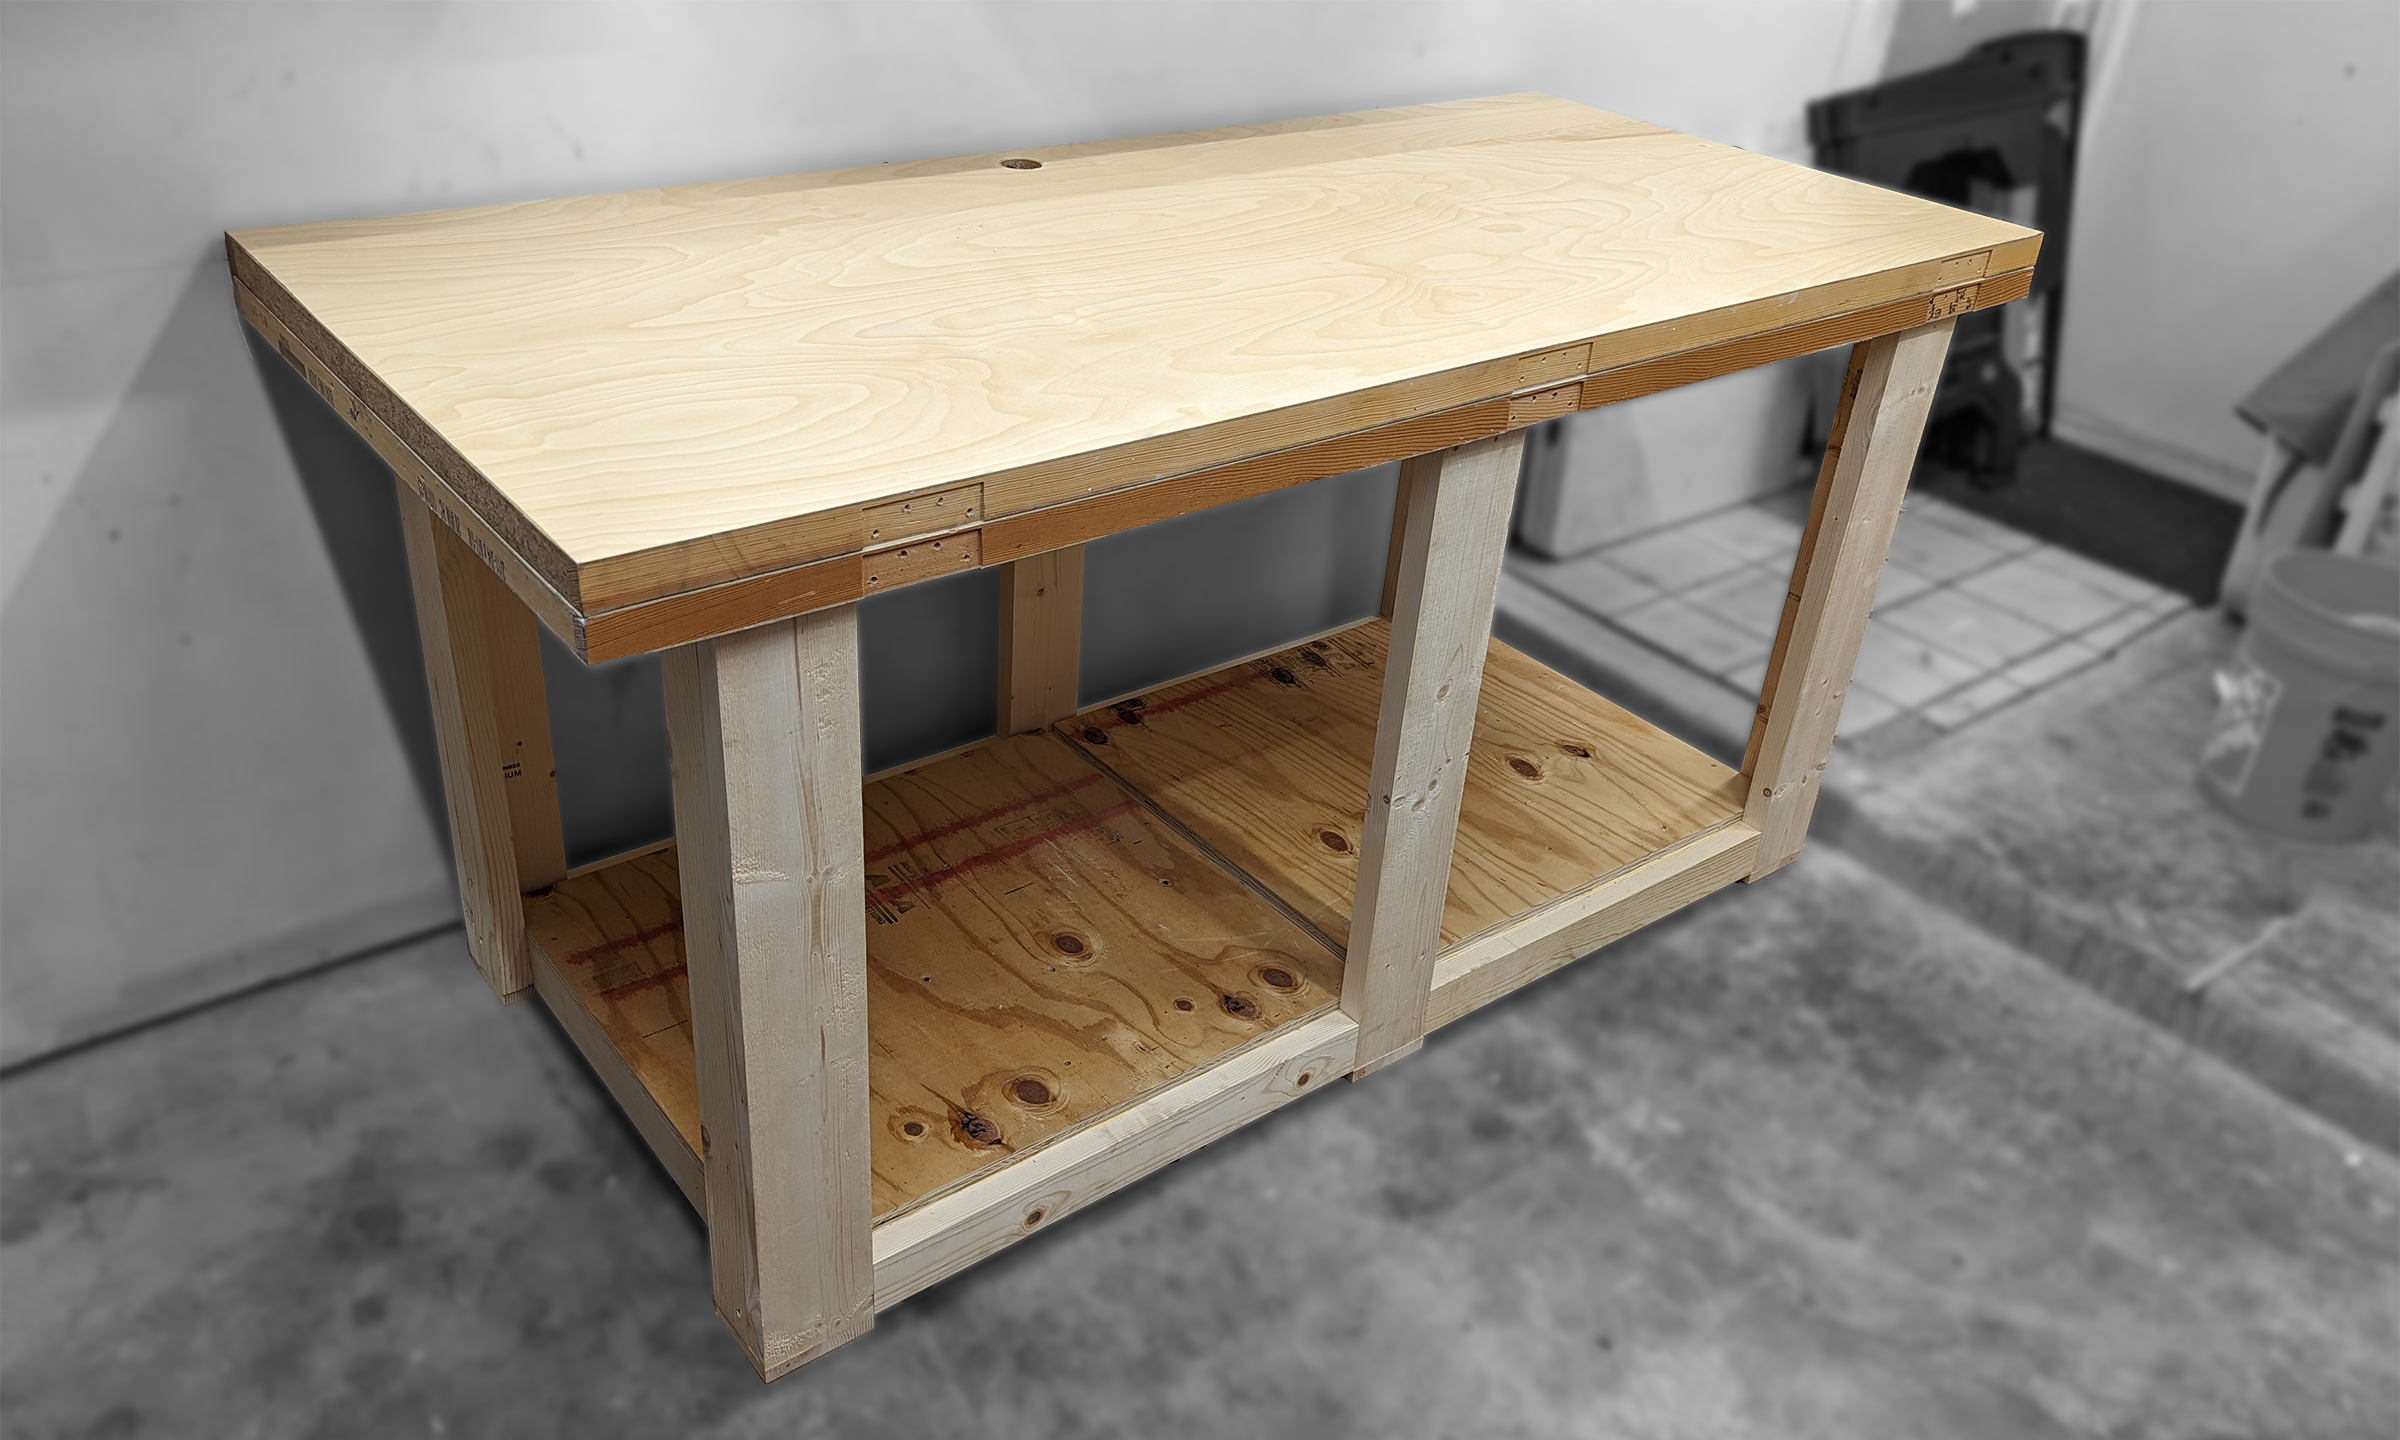
The gist of this bench is to use construction lumber for the frame, then stack the two doors I got on top. I decided to use 2×4’s and 2×6’s for the frame (cut down to 1.5×3 and 1.5×5 inches respectively). I also added a plywood bottom shelf using some free-to-me 3/4in plywood from a neighbor that was moving. For the top I’ve stacked the two doors I got so that in the future I can add dog holes for securing various projects.
I appreciated my dad helping to cut the pieces to size while he was visiting. And my daughter got to supervise the glue up so I didn’t mess up!
One note is that I’m hopeful this top will be up to the task of being used with bench dogs, hold fasts, and a plane stop. While both doors are “solid” and very heavy I don’t actually know that the core of the doors is actually solid wood. The one door appears to be some sort of very dense particle board. The other has what looks like a 2×4 frame so I just don’t know what’s behind that but suspect it’s also particle board. They both clearly have a maybe 3/16in thick pretty veneer on the faces. What I do know is that the doors are heavy (helps on the add mass front) and were strong enough to take lag screws to secure them together and also to secure them to the frame of the bench.
I also chose to cut the construction lumber down a hint in width to get rid of the rounded corners. It just gives a slightly sharper look in my opinion. I understand the functional reason lumber has rounded corners but I decided to roll the dice and do the design this way. I also hid almost all the screws used in this project. So once the whole thing is assembled almost all the screws are not visible. The ones that are could have easily been pocket screws also had I thought ahead a little. I also glued lots of the joints together and used lots of clamps as needed to get it all held in place as I screwed and glued. The top is secured to the frame and the two doors to each other with 3in long 1/4in lag screws.
Note that in many of the pictures there are cross pieces across the front of the bench. These were temporary just to maintain the proper spacing of the legs before they were screwed to the table top. I wanted the front to remain as open as possible. The front and end have clearance with future vises in mind. Also noteworthy… in my haste during assembly I forgot to leave the 1in space at the bottom so I added feet with scrap wood I had lying around attached to the bottoms of the legs. I also forgot to cut the notches in the fancy cutout 2×4 shown on the drawing so I adjusted on the fly to compensate. I’m still doing these projects around 2 small kids meaning I measure spare time in minutes per week… Much harder than just getting in the zone and knocking something like this out!
Noteworthy tools or components I used for this project are the following:
In the future I plan to move my woodworking vise over to this table for a front vise. Then I’ll buy another vise for an end vise and add some thin wood around the edge maybe just to make it look like one solid top. I will also need to buy a drill press jig (or do something like this) to make drilling an array of 3/4in holes easy and keep the drill vertical. I plan to buy some hold fasts, a plane stop, and use the bench dogs I already have. Lastly I plan to add a mount for a roll of thick paper on the end so I can easily pull paper up over the table top for things like glue ups. Links for all that is below.
- Drill Guide
- 9in vise I have – Yost F9WW
- 10in vise I plan to buy – Yost F10WW
- Bench dogs
- Hold fasts
- Plane stop
- 3ft x 150ft paper roll
I started using the doors as a bench already just to build this project, with the door supported on two sawhorses. And before I even attached the tops to the frame it was in use in its relatively final form. I really have found it great so far now that it’s all together. I look forward to the future upgrades I make to it but for now it’s already become a valuable addition to my garage!
Disclaimer: I participate in the Amazon Affiliate program. By purchasing items listed on Amazon using the links on this website you are supporting this website. I received no compensation for listing or using any of the products linked to on this page.


