In my daughter’s room we had a challenge that was different from our son’s room. Well two challenges actually. The first was that the baby monitor camera was going to be on a wall that only had an outlet controlled by the switch on it. The second was that our internet/router/IT stuff came into the house in her room and would be difficult to move.
Historically the room was our guest room and so far our guests were pretty good about not chewing on the cables we left at ground height. But we knew for this to be Norah’s room we’d need to do something about those cables and items. Because the wire for the internet comes in at a random spot on the wall, and the FiOS has some little power box also coming through a random spot in the wall, and because we’d want to route all this cabling somewhere else or cover it, it seemed like we’d need a creative solution.
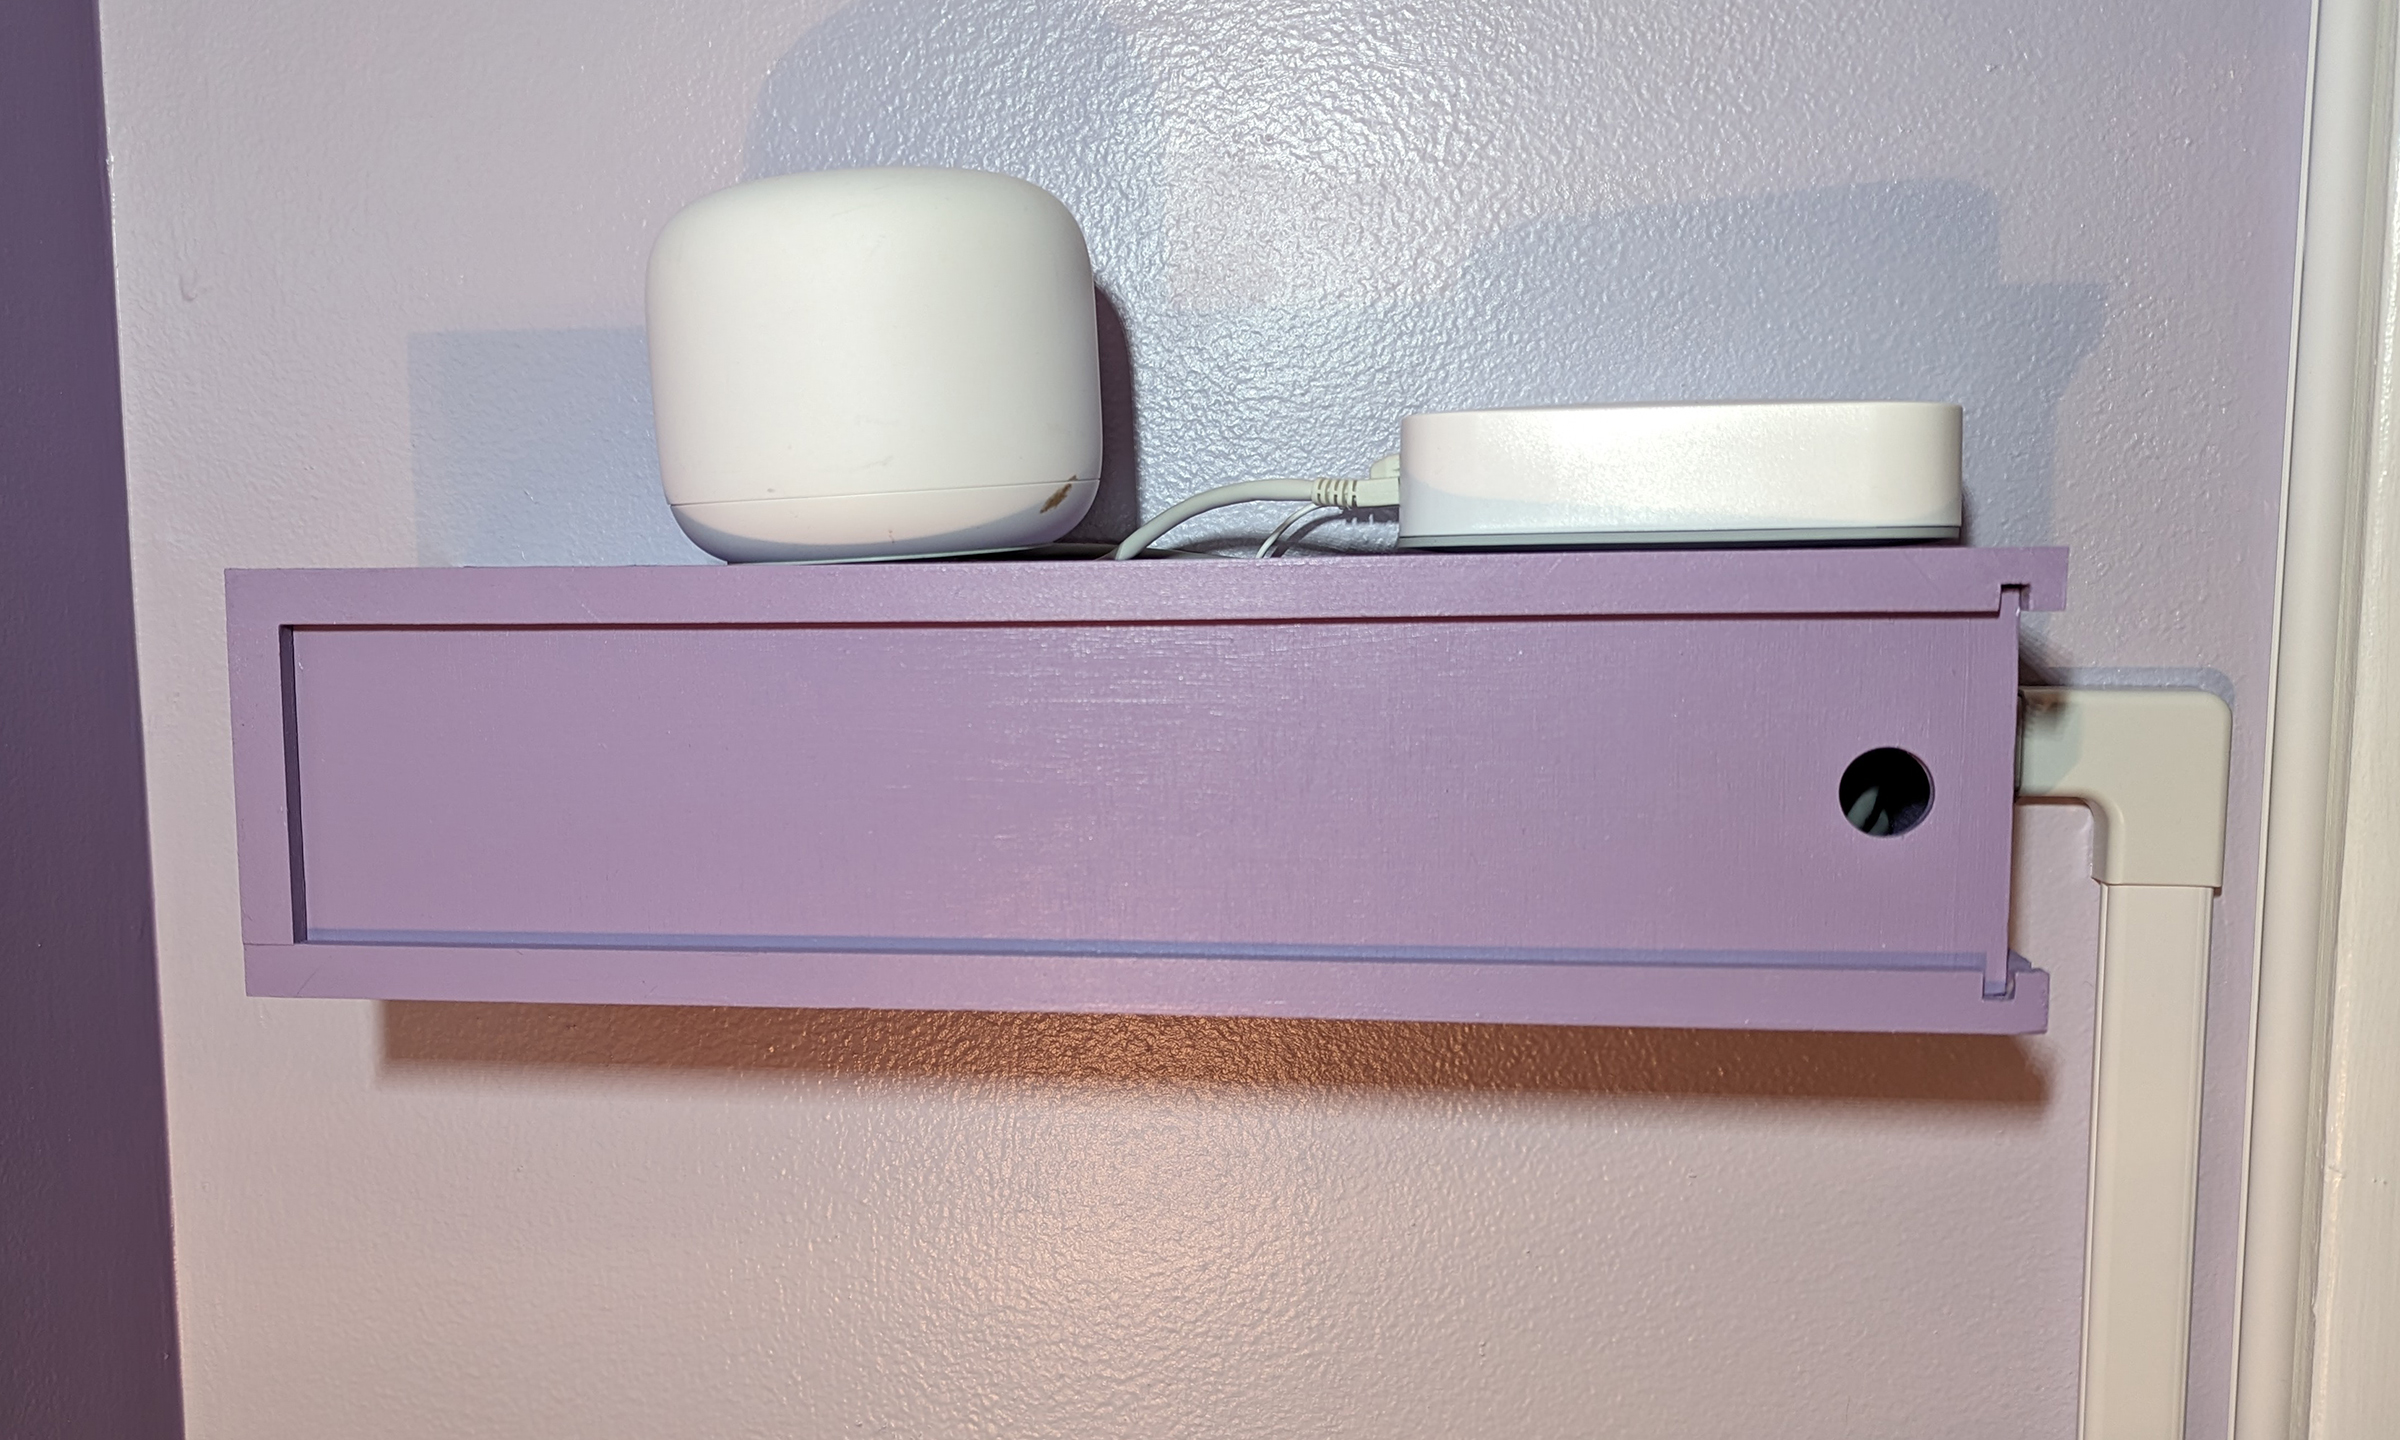
I decided to make two enclosures to ideally hide as much of the eye sore as possible while also protecting it all from a toddler with sticky fingers and that would want to chew on everything. To do this I decided to make a small wood enclosure to cover the items that should remain just under the outlet under the window in her room. I also decided to make a small shelf to hold the router and SmartThings hub up out of reach with a hidden compartment to handle cabling.
The other requirements were to interface cleanly with cable covers that could run along the wall covering the cables and the other was that they be easy to get into if needed by an adult without the use of special tools or keys that would be easy to lose.
Since I’ve been dabbling in all things wood that seemed like the obvious material choice. I decided to try to do something using good design and building techniques with a focus on process and getting parts that fit together well rather than just match the print. The result is two enclosures made of poplar with grooves that allow for thin plywood sliding panels to slide in and out easily. I cut all the plywood pieces on our new laser cutter at work. A handy tool that made quick work on those simple 2D shapes! Additionally the box that will remain at floor height has holes on the two removable plywood pieces that allow for a ziptie to be used to “lock” them together and remain closed but can easily be cut if needed.
I’m pretty happy with how this came out. Forgive the poorly lit pictures! Adding lighting to her room is also on the list!

