If you’re like me you have sockets in your tool bag that are always disorganized. And also like me maybe you haven’t ever done a sewing project before. Stay with me here. My tool bag had all my large impact sockets on socket rails, but through all the bouncing off road they inevitably got knocked off. I came up with the idea to make some custom fabric socket holders and it really wasn’t all that difficult!
I figured I needed a strong canvas like cloth to handle the weight of these sockets banging around. I found just what I needed at nearby Jo-Ann’s Fabric. A Gray Duck Canvas that was about $6/yard. I bought 2 yards just to be safe.
Re-Learning How to Sew
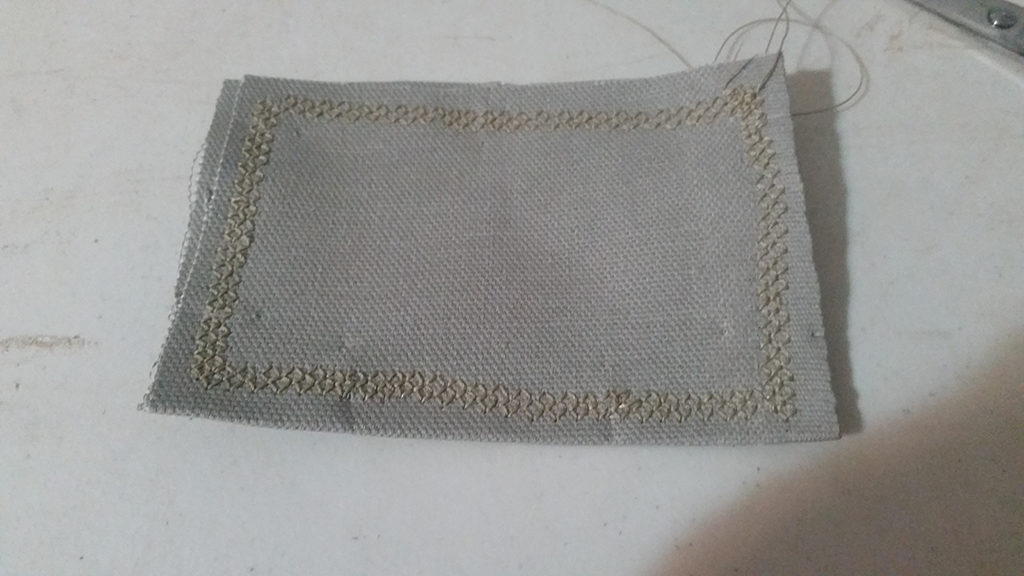
I hadn’t touched a sewing machine since my Mom taught me how to sew when I was about 12. So I had my wife give me a quick 5 minute tutorial on how to use her sewing machine. Then I looked through the available stitches (there are many more options than just a straight line!) and picked a diamond pattern that looked like it would be really strong. I did a test on a small sample of fabric to make sure that I could sew in straight lines and that the machine/needle/string/cloth combo would work well.
It worked well as you can see in the sample pic, but I definitely learned the importance of pinning it all together before sewing.
Layout and Fabrication
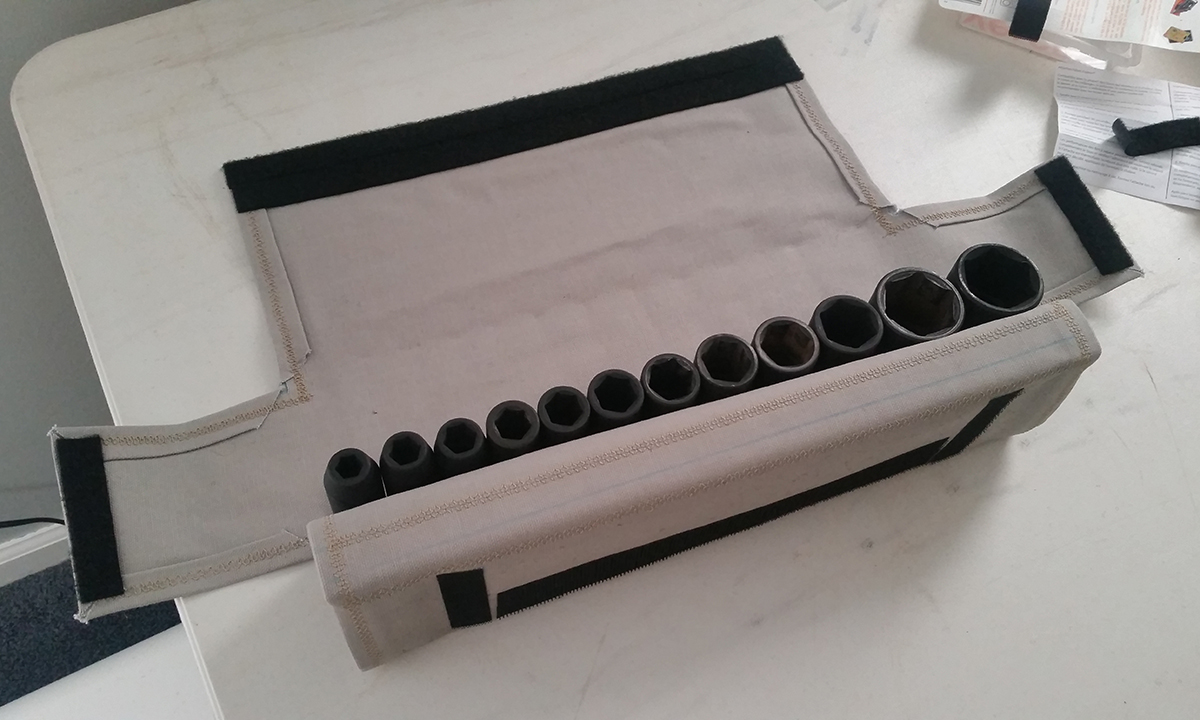
The next step was laying out my design. I laid my socket rail on the fabric to get an idea of how long it was. I decided to saw off the end of the socket rail to reduce its overall length. I decided to make the pouch so that one rail would fit in, then it would roll over then the other rail would go in so they would be separated by a layer of fabric. Then wings on the ends would come in to keep them from slipping out of the ends and finally a long flap would hold it all together.
My thinking was that the layer in between the rails would reduce wear and noise. And I figured the flaps would all be held down with iron-on velcro.
So I carefully laid down the rail and started marking around it with a straight edge and sewing pencil. Each movement of the rail I made carefully so I would get nice straight edges that were the proper separation. Once I had the pattern laid out (including extra material on the edges for nice flaps) and drawn out I was ready to cut. Note in the pictures the large extra portion on the outside edges which was a double flap, folded onto itself, then over again, so the cut edge was not visible in the final product.
I cut two identical pieces. Then I stacked them and carefully did the double rolled flap all the way around pinning as I went. The final step was sewing with the cotton thread I’d chosen. The double flap plus double base layer I ended up at was 3 times as thick as my original test piece and was on the verge of being too much for the needle/fabric combo I had chosen, but it worked out. The sewing itself really was fairly simple and straightforward and didn’t take too long. Note that I added several sewing lines down the fold lines to reinforce those areas and keep them from moving and fraying.
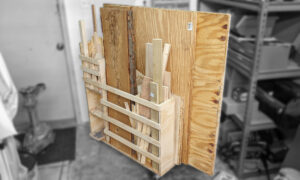
When the main pouch was complete I realized I had some extra fabric so I made a simple pouch with an opening on the one end for my shorter impact sockets and another pouch with a long side flap for all the impact socket accessories like extensions and wobblers. The last picture in the album shows the two smaller pouches in the cubby in my Craftsman tool set as they are stored.
Final Thoughts
I’ve been using these now for some time and overall they have held up well. The only issue with them is that the iron on velcro has started to come off. I haven’t decided yet if I’ll try to re-iron on new velcro in those spots or try to sew velcro on to replace the missing pieces.
Overall this project really was not that difficult or expensive (assuming you have access to a sewing machine) and very rewarding because I learned a new skill. I kind of can’t wait until the next sewing project I can come up with!